

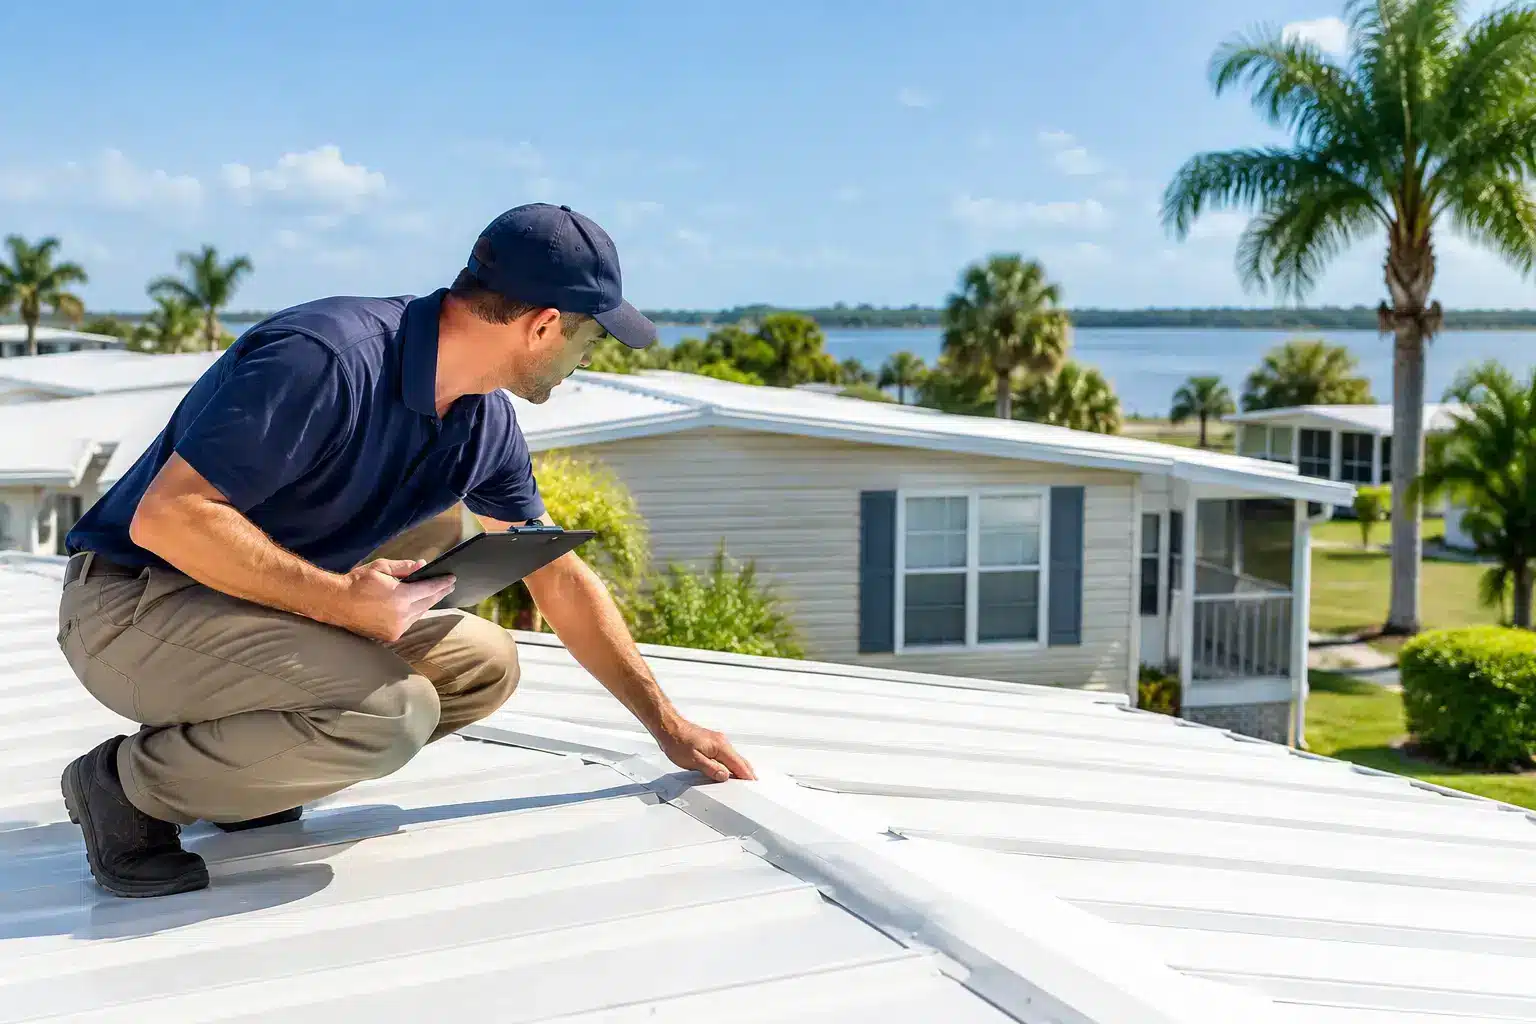

A small brown ceiling stain can be the first visible sign of a much larger roof problem. On a mobile home, water may travel along roof framing, insulation, or a ceiling seam before it appears indoors. This mobile home roof inspection guide helps Florida homeowners look for the conditions that deserve prompt attention, while recognizing when a close-up professional inspection is the safer choice.
Jacksonville weather is especially hard on mobile home roofs. Intense sun dries and cracks coatings and sealants. Humidity keeps damp areas from drying quickly. Heavy rain, wind-driven storms, and coastal moisture can exploit a loose fastener, open seam, worn pipe boot, or damaged roof edge. Finding the actual entry point early is often the difference between a targeted repair and widespread interior damage.
Start With Safety and a Clear Inspection Plan
A roof inspection should protect both the home and the person inspecting it. Do not walk on a mobile home roof unless you know it was designed to be walked on and you can reach it safely. Some older or lightly built roofs can be damaged by foot traffic, and wet surfaces, algae, loose metal, and low-slope areas create a fall hazard.
Begin from the ground with binoculars if needed. Walk slowly around the home and look at the roofline from several angles. Then inspect the ceiling, walls, and exterior components below the roof. Take dated photos of anything questionable. A photo taken before a storm and another taken afterward can make a changing condition much easier to identify.
If you see active leaking, sagging ceiling material, a soft roof deck, loose metal panels, or storm damage near electrical equipment, avoid temporary climbing or patching. Water and electricity are a dangerous combination, and a quick surface repair may hide the source without stopping it.
Mobile Home Roof Inspection Guide: What to Check Outside
Mobile homes may have metal roofs, low-slope roofs with coating systems, membrane roofing, or roof-over assemblies. The inspection points overlap, but the repair method must match the material. Applying the wrong sealant or coating can create a short-lived patch or trap water where it does not belong.
Check the roof surface for wear, openings, and ponding
Look for cracked, chalky, peeling, blistered, or thin roof coating. On coated low-slope roofs, worn areas may expose the underlying material and leave it vulnerable to water intrusion. Blisters can signal moisture beneath the coating, although not every blister means the entire roof must be replaced. Its location, size, condition, and the surrounding roof materials all matter.
On metal roofs, look for rust, bent panels, lifted laps, loose or missing fasteners, and separated seams. Fasteners can loosen over time as metal expands and contracts in the Florida heat. A screw backed out only slightly may allow water to enter during wind-driven rain.
After a rainfall, note any standing water that remains longer than expected. A low-slope roof is not necessarily defective, but persistent ponding increases stress on seams, coatings, and drains. It can also point to a sagging area, blocked drainage path, or underlying deck issue that a simple coating touch-up will not correct.
Inspect seams, edges, and transitions closely
Roof seams are common leak locations because they join separate materials together. Look for lifting, gaps, cracked sealant, wrinkled membrane, or signs that previous patch material is separating. On a roof-over system, inspect the connections where the newer roof meets walls, trim, and the original structure.
Pay close attention to perimeter edges. Wind often gets underneath loose edge metal, trim, or membrane at these locations. Look for bent drip edges, gaps at fascia boards, loose screws, and staining beneath the roofline. A damaged edge can allow water to reach the fascia and framing long before it appears inside the home.
Examine every roof penetration
Most roof leaks occur at a transition, not in the center of an open roof field. Plumbing vents, exhaust vents, skylights, air-conditioning lines, satellite mounts, and other penetrations all require properly integrated flashing and sealant.
Inspect vent boots for splits, brittleness, loose clamps, and gaps around the pipe. Check skylight curbs and flashing for cracked sealant, loose fasteners, or water staining on the surrounding roof surface. If an addition, Florida room, porch roof, or attached awning meets the mobile home, inspect that connection carefully. These intersections can collect debris and direct water into a vulnerable wall or roof transition.
Look Inside for Clues the Roof May Be Leaking
Interior evidence helps narrow down a problem, but it does not always identify the precise entry point. Water can travel several feet from the actual roof opening. A stain near a window, for example, could come from roof flashing, siding, a wall penetration, or condensation rather than the window itself.
Inside the home, look for yellow or brown ceiling stains, peeling paint, bubbling wall finishes, swollen trim, musty odors, and mold-like spotting. Check closets, corners, and rooms below roof penetrations. Press lightly around suspicious ceiling areas without puncturing the material. Softness, sagging, or a damp feel warrants fast attention.
Do not overlook the attic or ceiling cavity if there is safe access and adequate lighting. Look for wet insulation, darkened framing, drip marks, rusted fasteners, or daylight around penetrations. Avoid stepping between ceiling joists or disturbing insulation unnecessarily. A professional can often trace moisture patterns more accurately with the right access and diagnostic tools.
Inspect Gutters, Fascia, and Drainage Paths
Gutters are not present on every mobile home, but where they are installed, they must move water away from the roof edge and foundation. Clogged gutters can force water behind fascia or overflow onto siding. During heavy Jacksonville rain, that repeated overflow can damage wood trim and create rot near roof edges.
Look for sagging gutter sections, separated downspouts, vegetation in the trough, and water marks on fascia boards. Check whether downspouts discharge away from the home. Also inspect fascia and soffit areas for peeling paint, soft wood, discoloration, and insect activity. These may be signs of a long-term edge leak rather than a recent storm event.
Know Which Problems Need Prompt Professional Attention
Homeowners can document conditions and perform basic visual checks, but some findings should not wait for the next convenient date. Arrange a qualified roof inspection promptly if you notice active dripping, a growing ceiling stain, sagging materials, visible daylight, loose metal after wind, widespread coating failure, or recurring leaks after previous repairs.
A recurring leak is particularly worth investigating. Reapplying caulk over the same visible spot may stop water briefly, but it does not address a loose seam, failed flashing detail, trapped moisture, or deteriorated deck beneath it. The correct repair depends on the source of intrusion and the condition of the surrounding roof system.
A proper inspection should explain what was found in plain language, identify the likely path of water, and distinguish between urgent repairs, maintenance needs, and conditions that should be monitored. Photos of damaged areas and completed repairs give homeowners a useful record, especially after storms or during a real estate transaction.
Create a Practical Inspection Schedule
For most mobile homes in Northeast Florida, inspect the roof visually at least twice a year: once before the most active storm season and again afterward. Also inspect after tropical storms, unusually strong wind, hail, falling branches, or any event that leaves debris on the roof.
A regular schedule does not mean every inspection will uncover a major issue. It means small changes are more likely to be caught while a focused repair is still practical. Keep records of roof work, coatings, repairs, and photos. Knowing when a seam was repaired or a coating was applied helps a roofing professional judge whether the material is aging normally or failing prematurely.
James Neill Roofing Repair approaches mobile home roofing with the same principle that applies to every roof: identify the actual cause before recommending work. A careful inspection can protect your property, reduce the risk of interior damage, and give you clear information before a small concern becomes an expensive surprise.